


It has been a while since I last updated my recipe page and I have been salivating for something that involves some sourdough bread with the likes of grilled cheese sandwich, pizza bread, croque monsieur, croque madame, or just a simple egg salad sandwich!
So I am going to start this year with my favorite sourdough recipe.

I started making sourdough bread few years ago. Here is a fool proof recipe I have been using including my very own starter.
I usually keep a starter even though it takes me couple weeks or so to make another sourdough bread. It is so easy to make and usually just needs 2-3 ingredients (and of course a lot of patience). It takes a few days before you can have a ready to use starter to make your own sourdough bread.
The recipe below for a starter is good enough to make me couple breads. Patience is key since this would take 5-7 days before you can use.

Starter:
- 1/2 c Whole Wheat Flour (for day 1), All Purpose Flour (for day 2+)
- 1/4 c Water (cold or tap)
- 1qt Glass Jar (to keep your starter in)
Instructions to make your own starter:
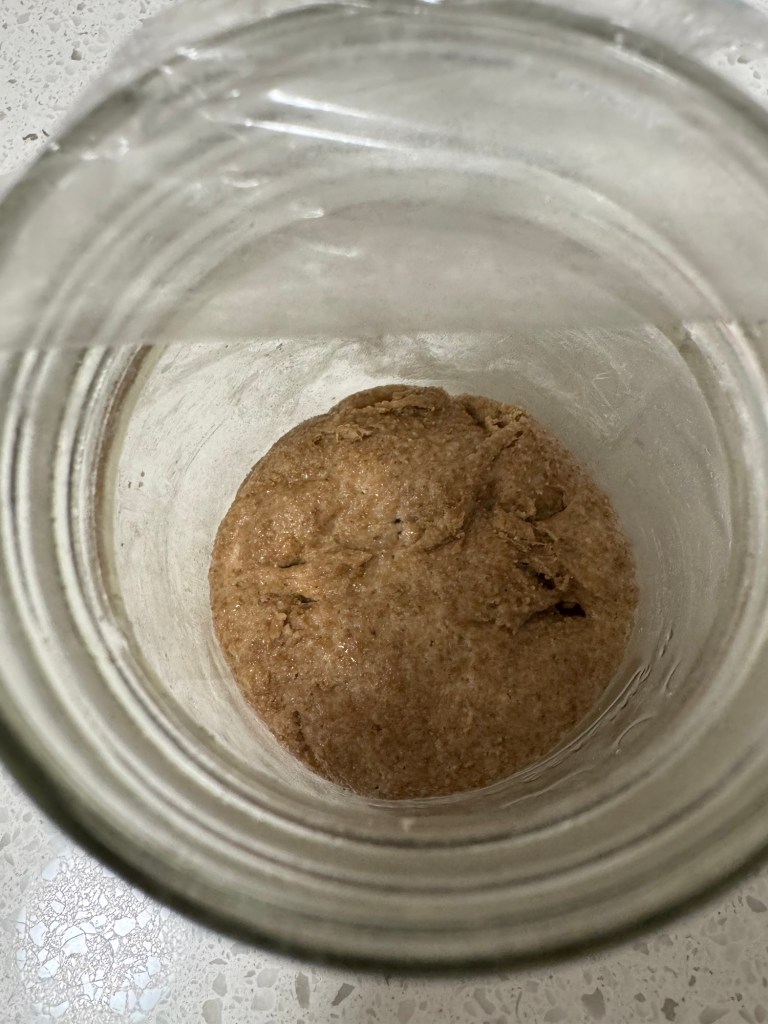
Day 1
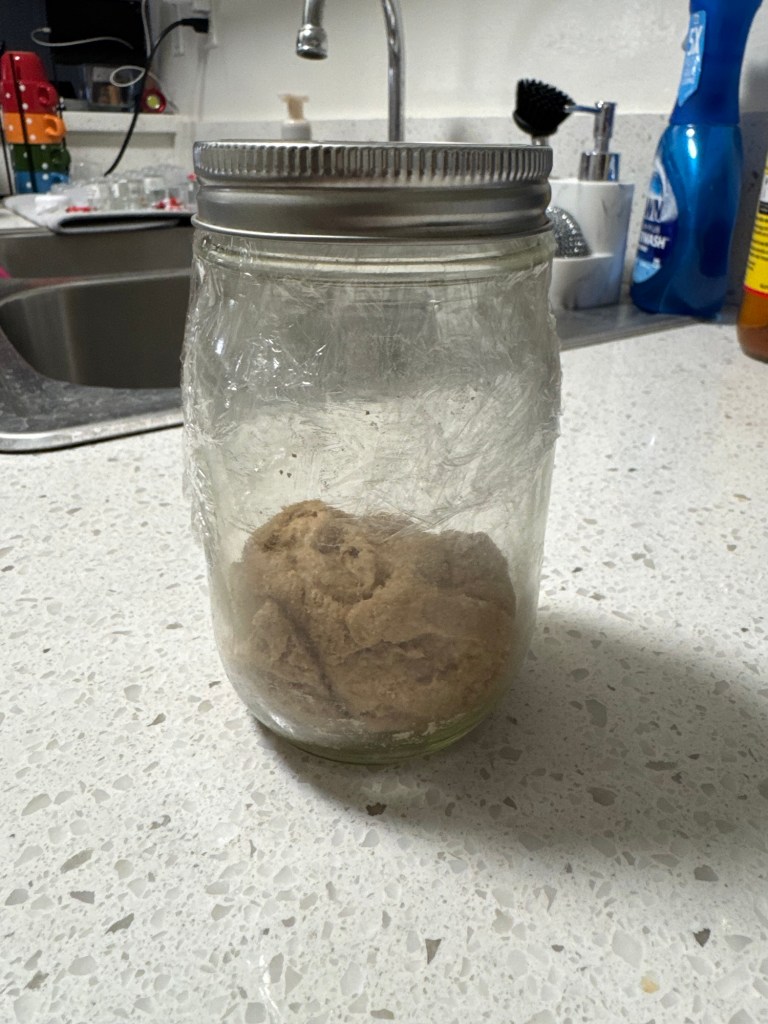
- Combine the 1/2 c flour with the 1/4 c water in the jar.
- Mix well until smooth and no trace of flour left.
- Cover with plastic wrap and let it sit for about 1 day or 24 hours in a warm spot (70F-75F).

Day 2
- You will notice some bubbles in the jar.
- If you dont see any bubbles, that is ok. Mix it up to 2x. Cover and let it sit until the next day. Otherwise, continue to Day 2 instructions.
- If you see small bubbles, you can feed the starter.
- Discard half of the starter.
- Add 1/2 cup All Purpose Flour and 1/4 cup Water to your starter.
- Mix until smooth.
- Cover and let rest in a warm spot (70F-75F).
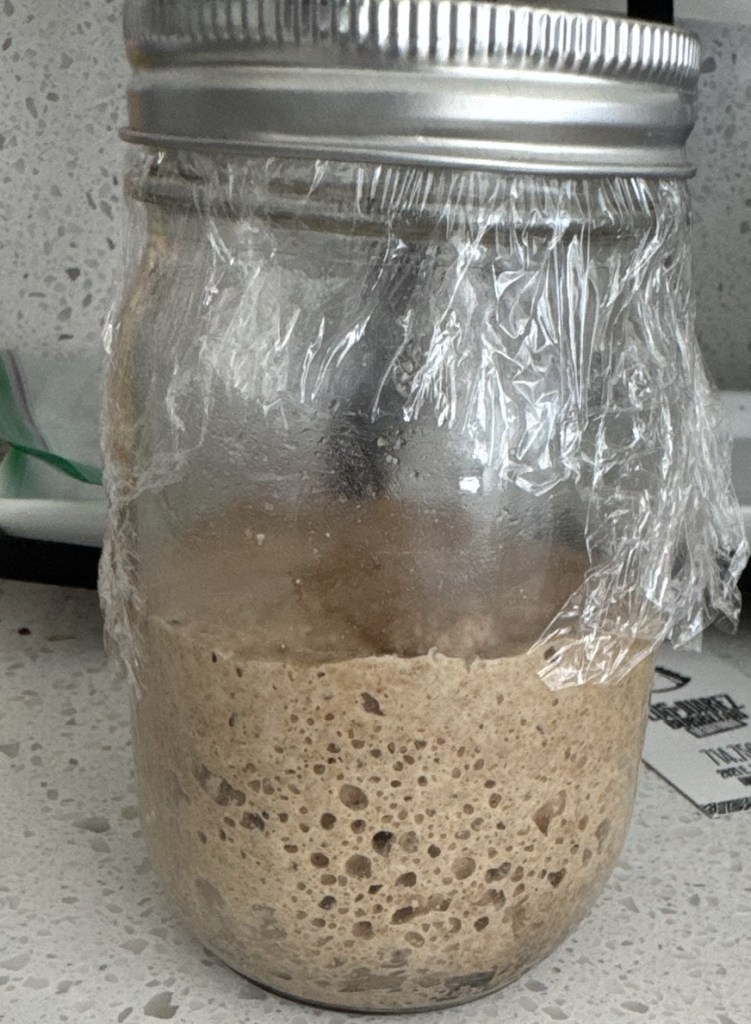
Day 3 (From this day onwards, the process will be the same, you will just have to be patient until your starter is ready)
- You will notice more fermentation. Discard half of the jar.
- Feed the starter with 1/2 c All Purpose Flour and 1/4 c Water.
- Mix until smooth.
- Cover and let rest in a warm spot (70F-75F) for 1 day or 24 hours.
Day 4:
- Feed the starter with 1/2 c All Purpose Flour and 1/4 c Water.
- Mix until smooth.
- Cover and let rest in a warm spot (70F-75F) for 1 day or 24 hours.
Day 5:
- Feed the starter with 1/2 c All Purpose Flour and 1/4 c Water.
- Mix until smooth.
- Cover and let rest in a warm spot (70F-75F) for 1 day or 24 hours.
Day 6:
- Feed the starter with 1/2 c All Purpose Flour and 1/4 c Water.
- Mix until smooth.
- Cover and let rest in a warm spot (70F-75F) for 1 day or 24 hours.
Day 7:
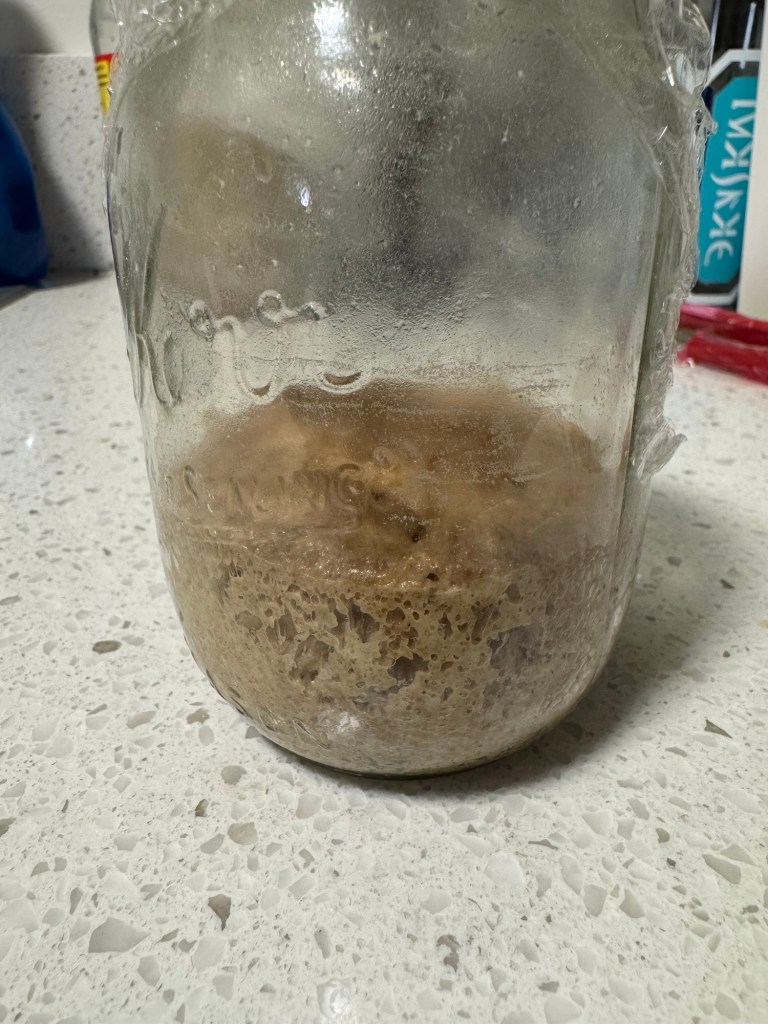
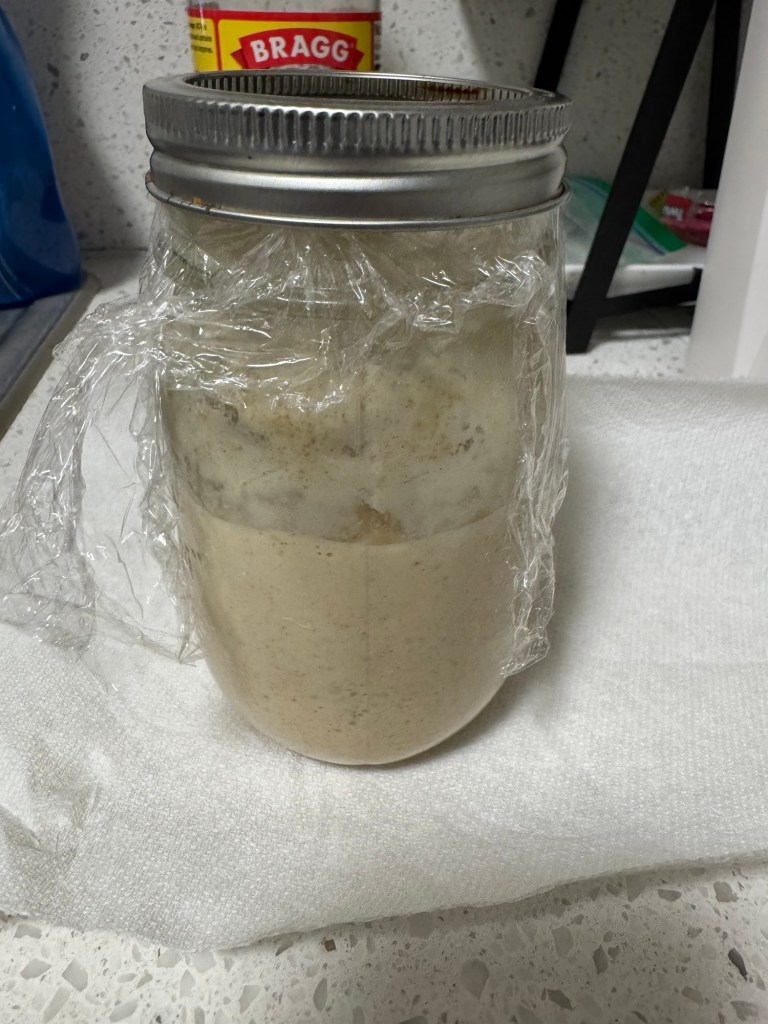
- By now your starter would be ready to use. You will notice that it would have doubled in size already and has more bubbles. Otherwise continue feeding the starter with the same process.
- Feed the starter with 1/2 c All Purpose Flour and 1/4 c Water.
- Mix until smooth.
- Cover and now you can store in the refrigerator. Feed at least 1x a week if not planning to use everyday. If you are going to use everyday, leave in room temperature and feed once to twice a day.
~~~
ONCE YOU HAVE YOUR STARTER, YOU ARE NOW READY TO MAKE YOUR VERY OWN SOURDOUGH BREAD!
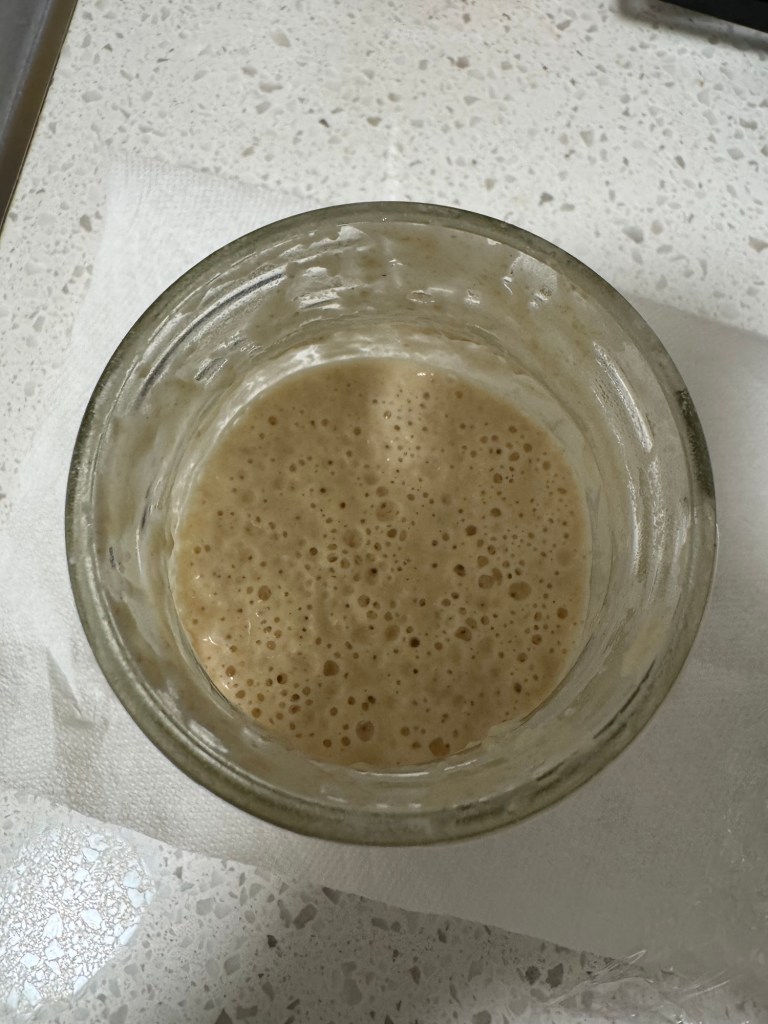
2 ways to know that your starter is ready:
- You see small and big bubbles in the jar
- When you scoop a dollop of your starter and drop it in water, it will float if it is ready.
~~~
Ingredients:
- 3/4 c or 150g Starter
- 1 c + 1Tbsp or 250-300g Warm Water
- 2 Tbsp + 2 tsp or 25g Olive Oil
- 3 1/2 c or 500g Bread Flour
- 1 1/2 tsp or 10g Salt
Instructions:
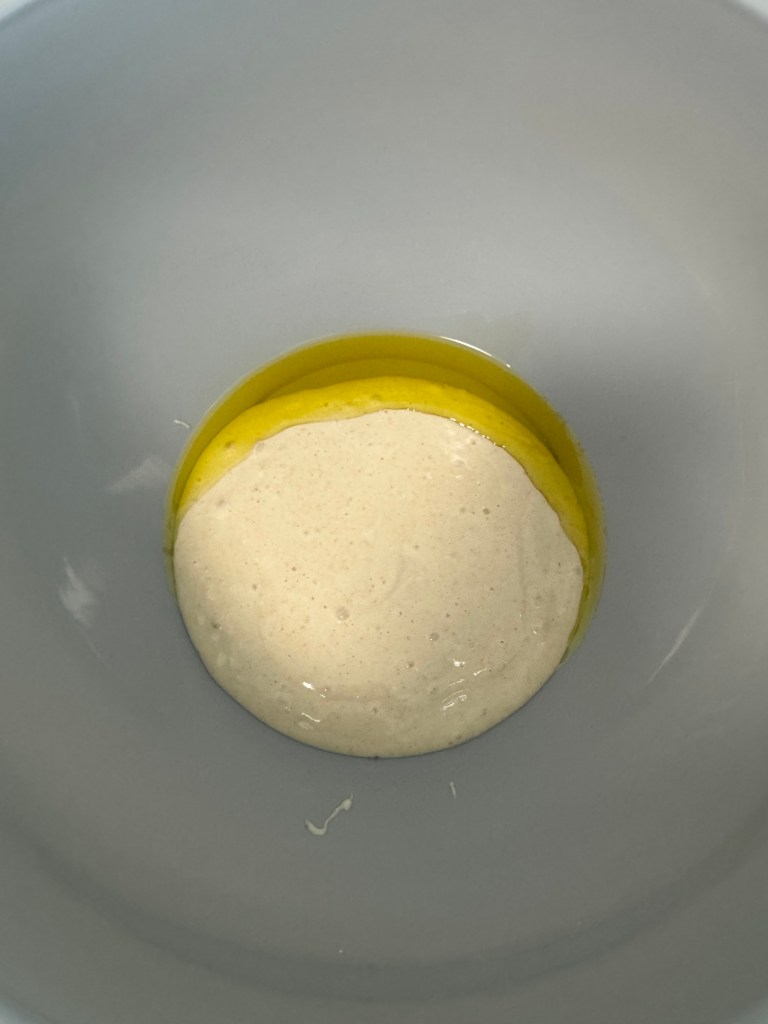
1. Combine starter, warm water, and olive oil.
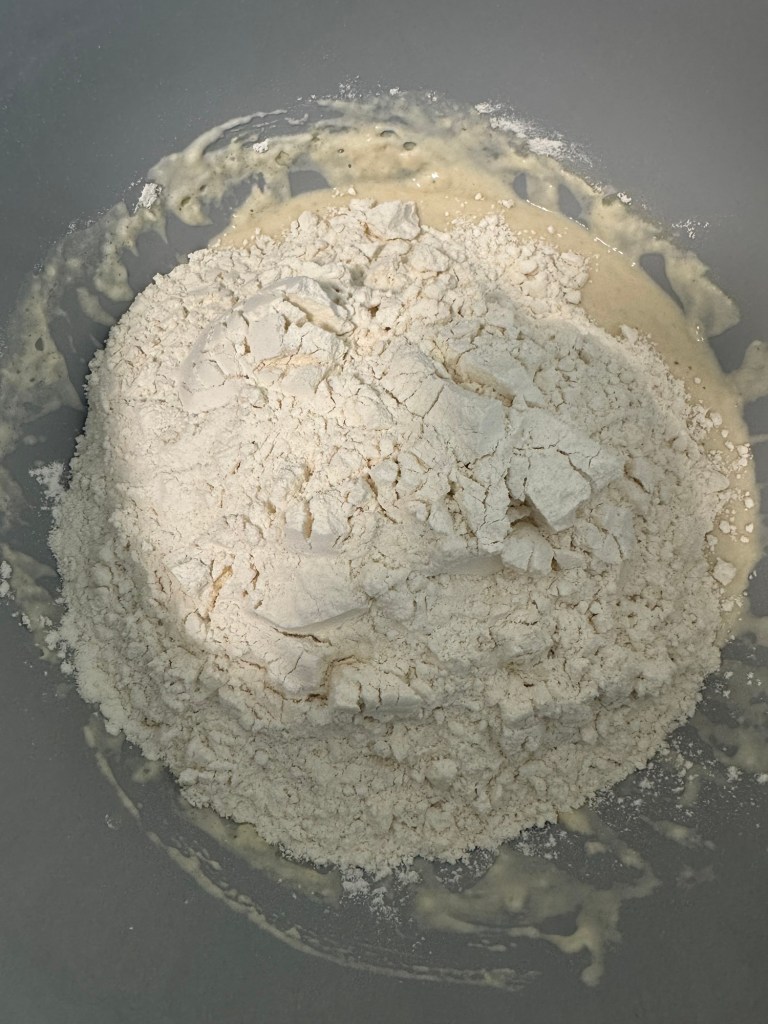
2. Add bread flour and salt. Mix until well combined. You do not need to overmix. The mixture will be a little rough and that is ok.
3. Cover in plastic wrap for about 30-60 minutes. Let rest.
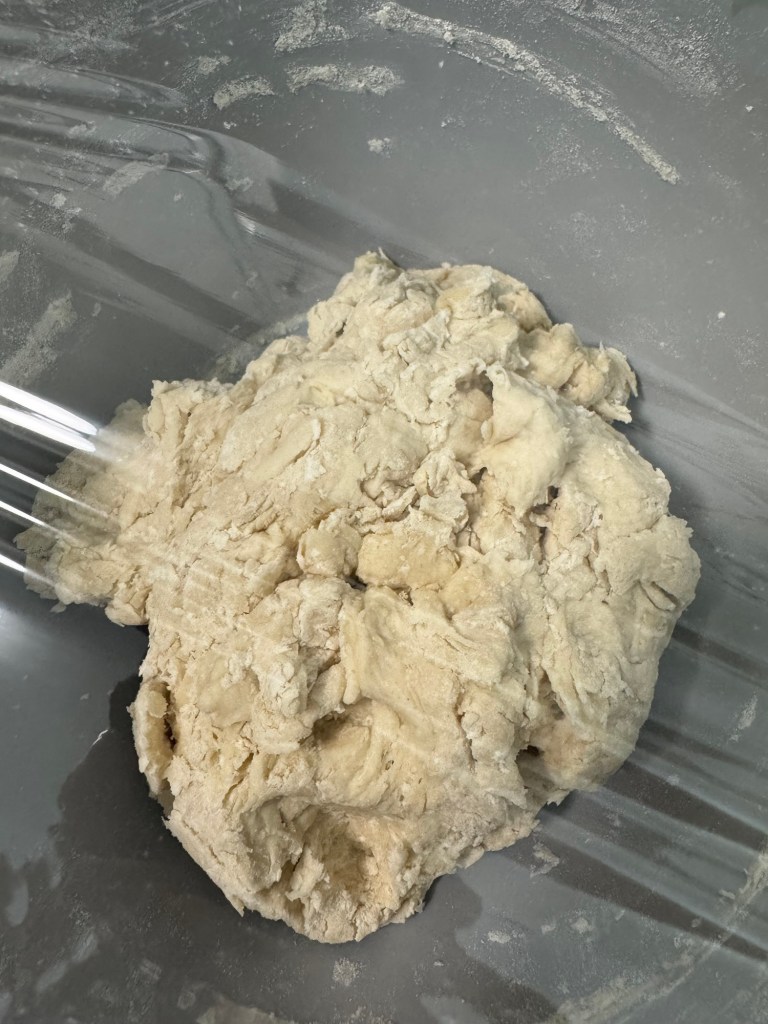
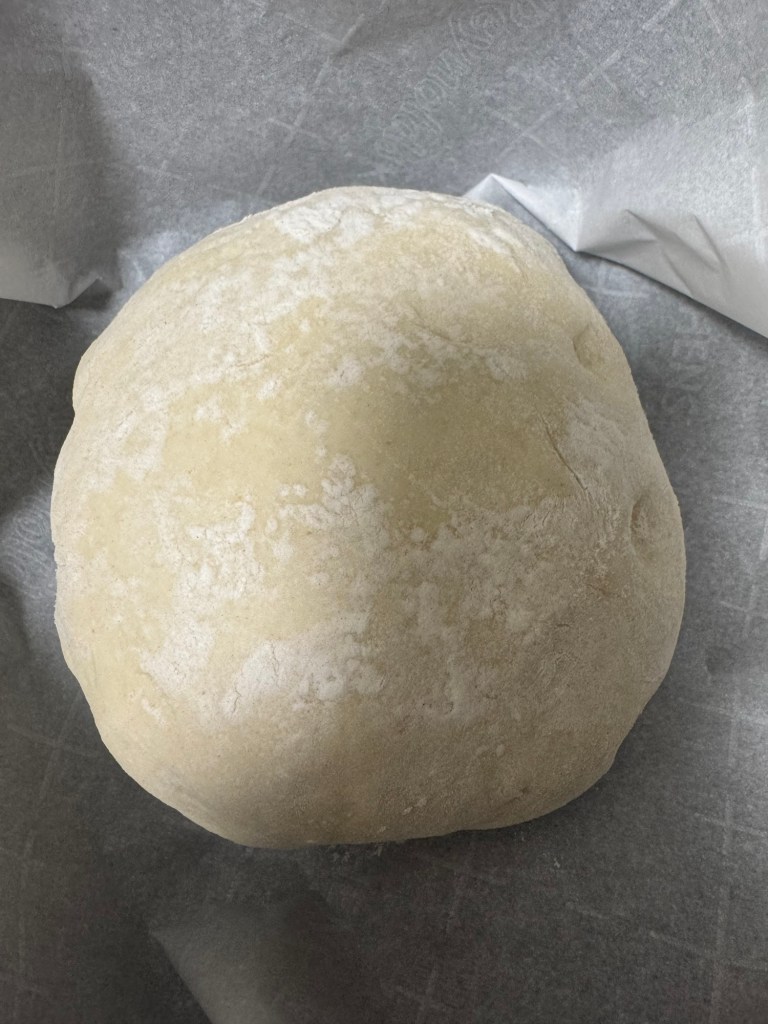
4. Make the dough into a ball. After an hour of letting it rest, it would be best to do a stretch & fold every hour until the dough has doubled its size.
5. Let rest for up to 12 hours (depending on the temparature of your environment, it can range from 4-12 hours) or until double its size.
6. When the dough is ready, cut the dough in half to make 2 small loaves. Otherwise, you can leave it as is to make a whole loaf.
I make small loaves for clam chowder bread bowls or if I want to incorporate different flavors for a variety.
7. Work on your dough on a lightly floured surface, doing a stretch and fold from top and working clockwise until you come into full circle.
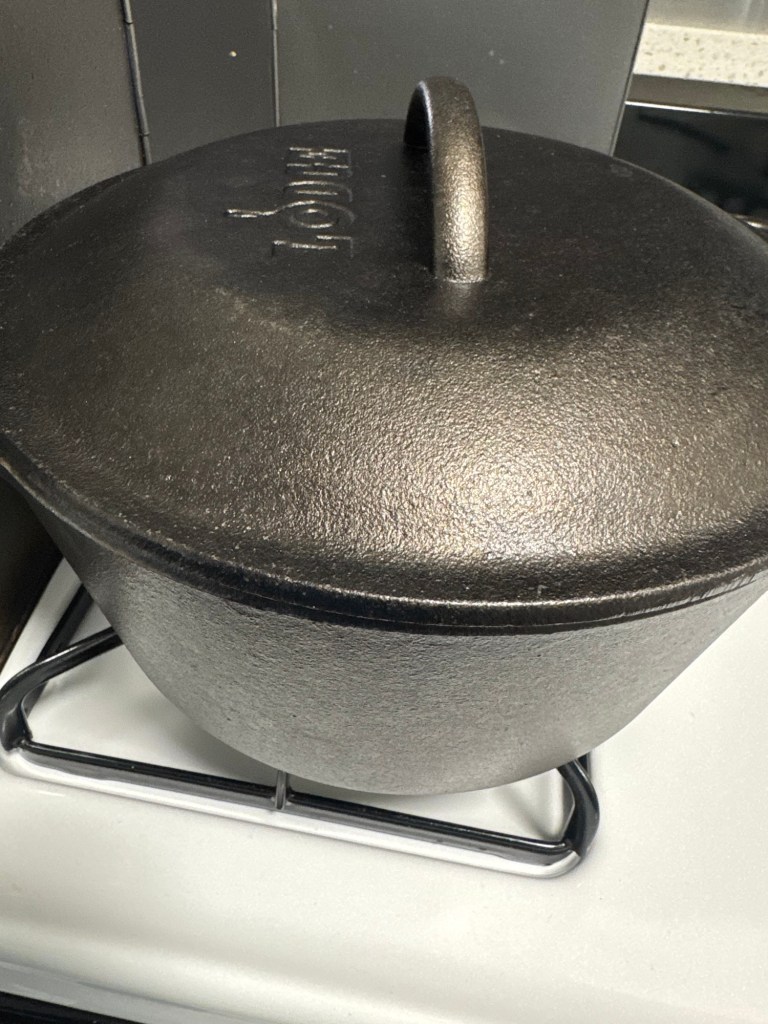
8. Line your dutch oven with parchment paper.
9. Move the dough into a dutch oven (or any pot that can handle 450F heat in the oven).
10. Let it rest again for a second rise for up to an hour. Your dough should be puffy.
11. Preheat the oven to 450F.
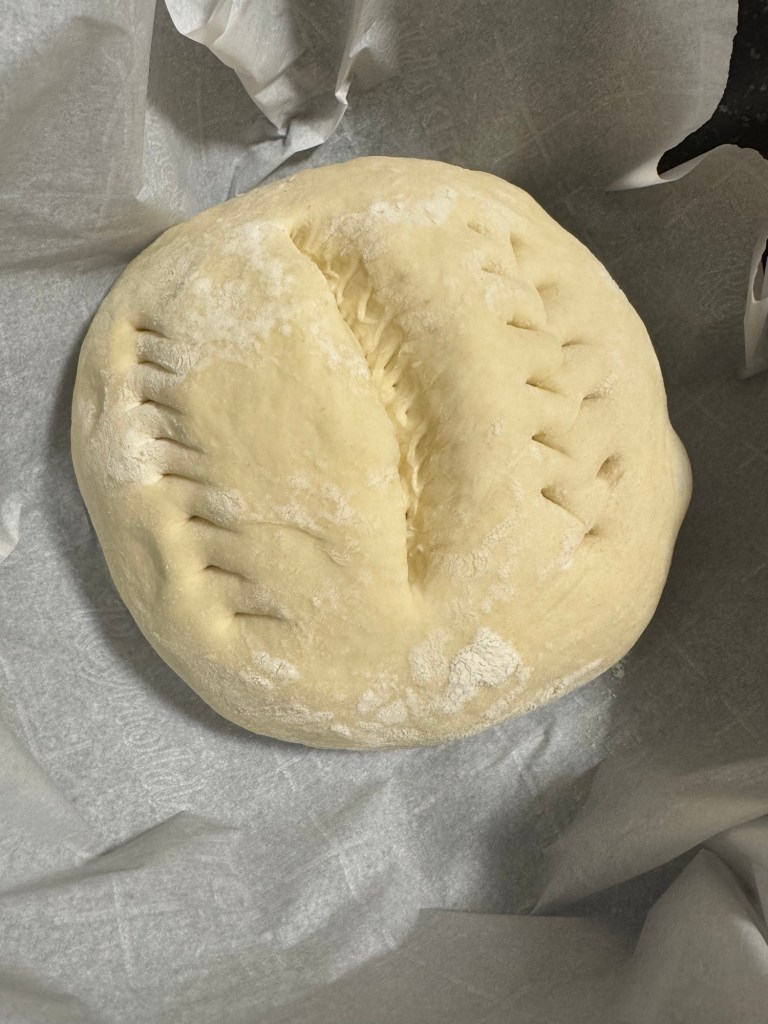
12. Score your dough (slash the top using a blade at a slanted angle) about an inch deep.
13. Reduce the oven to 400F.
14. Cover the dutch oven and bake the bread.
15. After 20 minutes, remove the lid.
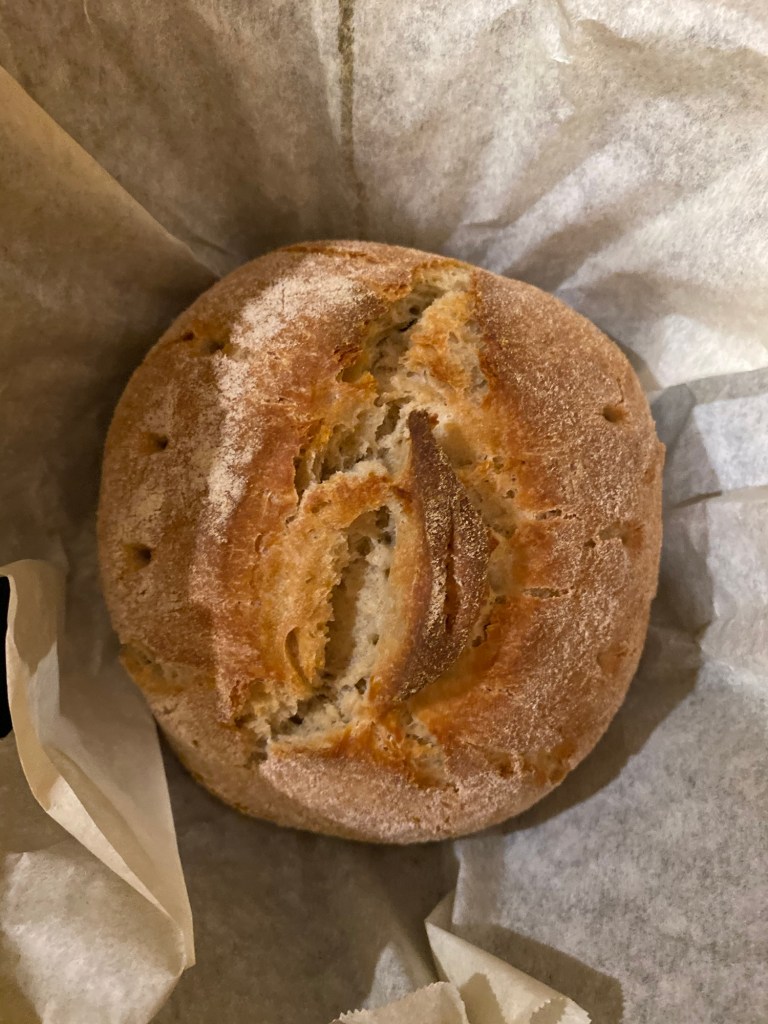
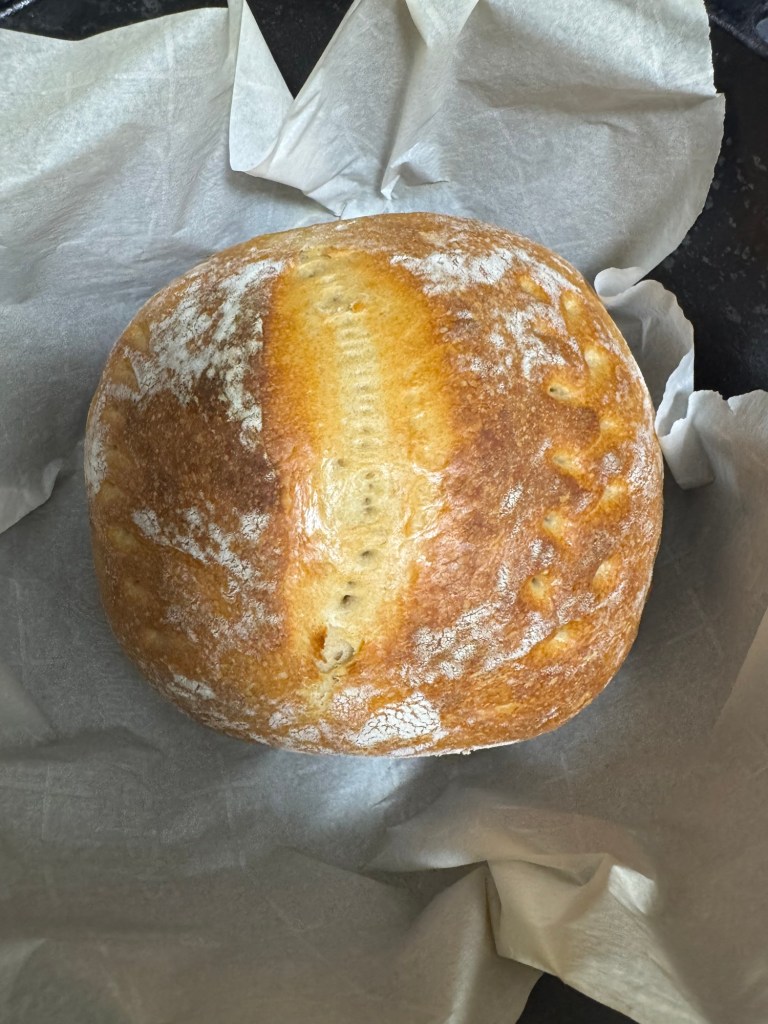
16. Bake the bread for another 35-40 minutes. You will notice a deep golden brown or check if the internal temperature is between 205F – 210F.
17. Remove from the oven and let rest for at least an hour before slicing the bread.


Leave a comment